Overview
This eInvoice App is designed to automate the submission of LHDN e-Invoices whenever a Bitrix24 invoice record is created. This guide will walk you through how to use the app effectively.
Custom Fields and Event Handler Setup
Upon installing the eInvoice App, the following actions will be automatically performed:
- Custom Fields: The app will create essential custom fields in both the Invoice and Company entities:
- Invoice Entity Custom Fields:
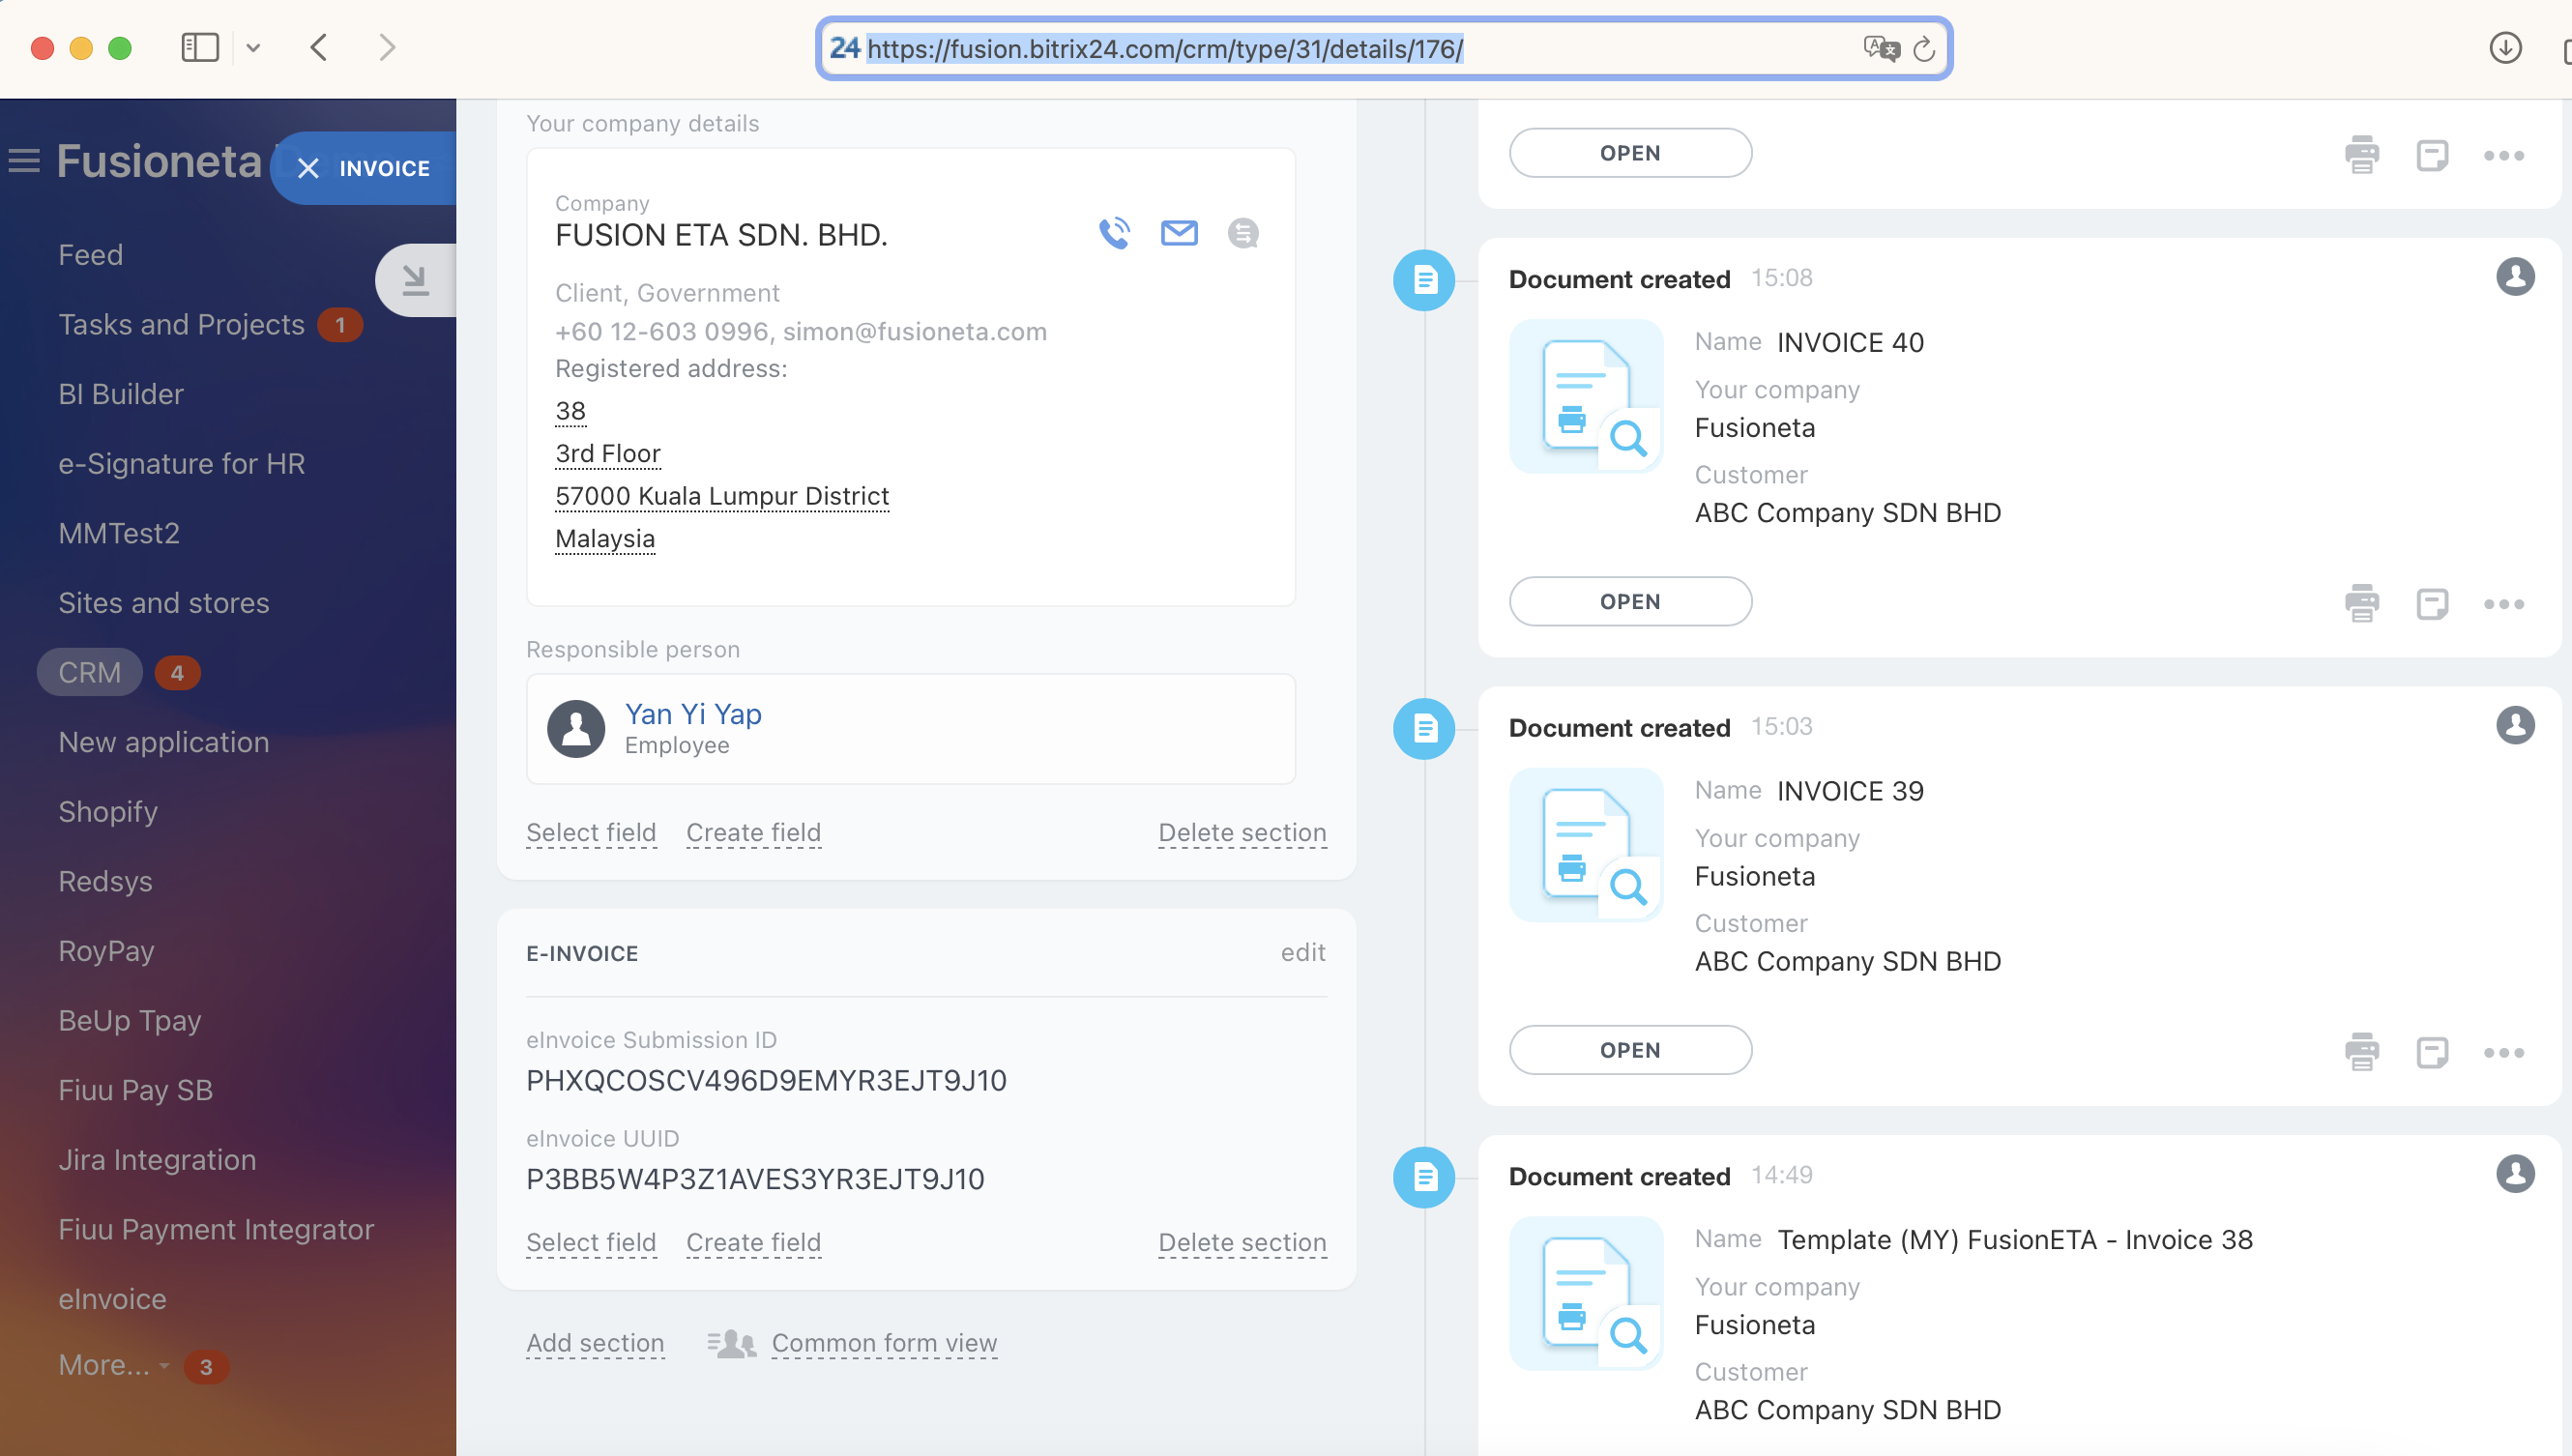
- eInvoice Submission ID: Tracks the unique submission ID for each e-Invoice sent to LHDN.
- eInvoice UUID: Stores the unique identifier (UUID) of the e-Invoice once it’s submitted.
- Company Entity Custom Fields:
- eInvoice TIN: Taxpayer Identification Number. Stores the company’s taxpayer identification number.
- eInvoice BRN: Business Registration Number. Stores the company’s business registration number.
- eInvoice SST: Sales and Service Tax number. Stores the company’s SST number.
- eInvoice TTX: Tax Transaction Code. Stores the tax transaction code for LHDN submissions.
- Invoice Entity Custom Fields:
- Event Handler: The app will register an event handler to automate the submission of e-Invoices each time a new invoice is created in Bitrix24:
- Event: OnAfterCrmInvoiceAdd
- This event is triggered each time a new invoice is created. The handler will automatically gather the necessary invoice details and submit the e-Invoice to LHDN.
Verify Company Details for Successful Invoice Submission
To ensure the e-Invoice is successfully processed and submitted to LHDN, you need to first add your company information in Bitrix24:
Step 1: Add your company by visiting the My Company section at https://yourbitrix.bitrix24.com/crm/configs/mycompany/
Step 2: Ensure the following fields are filled out correctly:
- Company name: The official registered name of your company. Example: ABC Company SDN BHD
- Phone: A valid contact number for your company. Example: +60123456789
- eInvoice TIN: Taxpayer Identification Number. Example: C2584563222
- eInvoice BRN: Business Registration Number. Example: 202001234567
- Zip/Postal code: The postal code of your company’s address. Example: 47620
- Country: The country where your company is registered. Example: Malaysia
- Region/Area: The state of your company’s address. Example: Selangor
- City: The city where your company is located. Example: Subang Jaya
- Street, house no.: The street address of your company. Example: No. 23
Secondly, confirm that your client's details are also added as a company in Bitrix24
Step 1: Add client's company at https://yourbitrix.bitrix24.com/crm/company/list/
Step 2: Ensure the following fields are filled out correctly:
- Company name: The official registered name of your company. Example: ABC Company SDN BHD
- Phone: A valid contact number for your company. Example: +60123456789
- eInvoice TIN: Taxpayer Identification Number. Example: C2584563222
- eInvoice BRN: Business Registration Number. Example: 202001234567
- Zip/Postal code: The postal code of your company’s address. Example: 47620
- Country: The country where your company is registered. Example: Malaysia
- Region/Area: The state of your company’s address. Example: Selangor
- City: The city where your company is located. Example: Subang Jaya
- Street, house no.: The street address of your company. Example: No. 23
Ensure that these fields are filled out correctly to avoid any issues during the e-Invoice submission process.

Invoice Creation and eInvoice Submission
How the eInvoice works:
- Login to Bitrix24: Access your Bitrix24 CRM system using your credentials.
- Navigate to the Invoices Section: From the CRM module, click on Invoices in the left-hand menu.
- Click on 'Create Invoice': In the invoice section, click on the create New Invoice button to start creating a new invoice.
- Select Customer Company: In the Customer field, select the customer (company) for whom the invoice is being created. If the customer isn't in the system yet, you can add a new contact or company.
- Enter Your Company Details: In the Your Company Detail field, select your company
- Add Product Items: Under the Products section, click Add Product to select the items to be invoiced. Choose products from your catalog or add them manually by entering the product name, quantity, unit price.
- Review and Finalize: Review all the details.
- Save the Invoice: Once all information is verified, click Save to store the invoice in Bitrix24.
- Submission detail: Once LHDN eInvoice submistted successfully, system will return eInvoice Submission ID & UUID in Bitrix24.


